
So I fancied having a crack at the Tiny-Whoop craze. I had a micro-quad for a while but was a bit annoyed with breaking props once a day.
This TinyWhoop is based on the Eachine E010 mini quad.

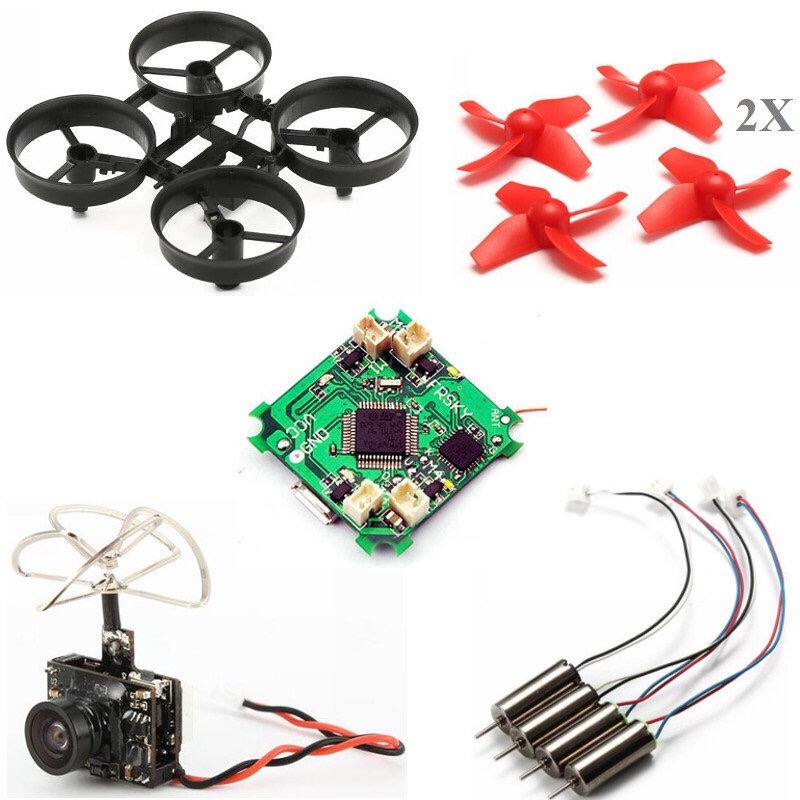
In itself the quad is a great little thing, but it has the option of turning into something really fun! $20AUD delivered, what more do you need! Time for an upgrade then. I’ve already got a half decent transmitter from my other quads, so I don’t need the cheap Chinese thing, I’ve got some Dark Edition, Insane speed brushed motors too thanks to Benedikt at Micro-Motor Warehouse. Time for a sit down and think what I actually need. I want to replace the flight controller with something more useful, the BeeBrain is ideal and made for purpose, unfortately a little pricey for me, BangGood do a ripoff called the Beecore which can handle Betaflight, so tick to that. Next is motors, of which I already own a spare set of DE brushed, although all brushed motors fail quite quickly. Okay so camera then as this needs to be FPV. For the money the TX01 AIO camera again by Banggood is cheap does the job.
So shopping list:
- Eachine E010
- Beecore
- Brushed motors
- TX01 camera
How handy that Banggood offer all this in one package here for only $80aud. Albeit comes with a TX03 camera which is a little heavier than the TX01 but does offer changeable strength vtx.
So I chose the Beecore with FRSky frequency as this speaks happily to my existing Turnigy transmitter and XJT module.
I ordered some mega awesome punchy mylipo HV 205mah/25C 1S batteries from Micro-Motor-Warehouse, (many thanks to Benedikt for his promptness as always) and sat and waited. Note that I ordered the batteries with the new style connectors known as PH2 or the more clinical JST-PH-2.0. The batteries can suck so much current that the standard JST connector acts like a bottleneck.
So it all arrived:

I also ordered a DVR for my goggles, a loop to protect the camera aerial and a camera mount that fits the E010 chassis plus a little lipo back. So let’s build the bugger:
First job, reinforce the chassis, I used two part epoxy resin called Araldite and strengthened all the bridges:

Next is solder the JST-PH-2.0 pigtail loop onto the Beecore that I ordered from MMW with my batteries and fit the Beecore to the chassis.

Check for the direction arrow on the Beecore so you put the right motors on the right corners with the right props. Note there are two clockwise motors and two counter-clockwise and they require the right props on the right motors.
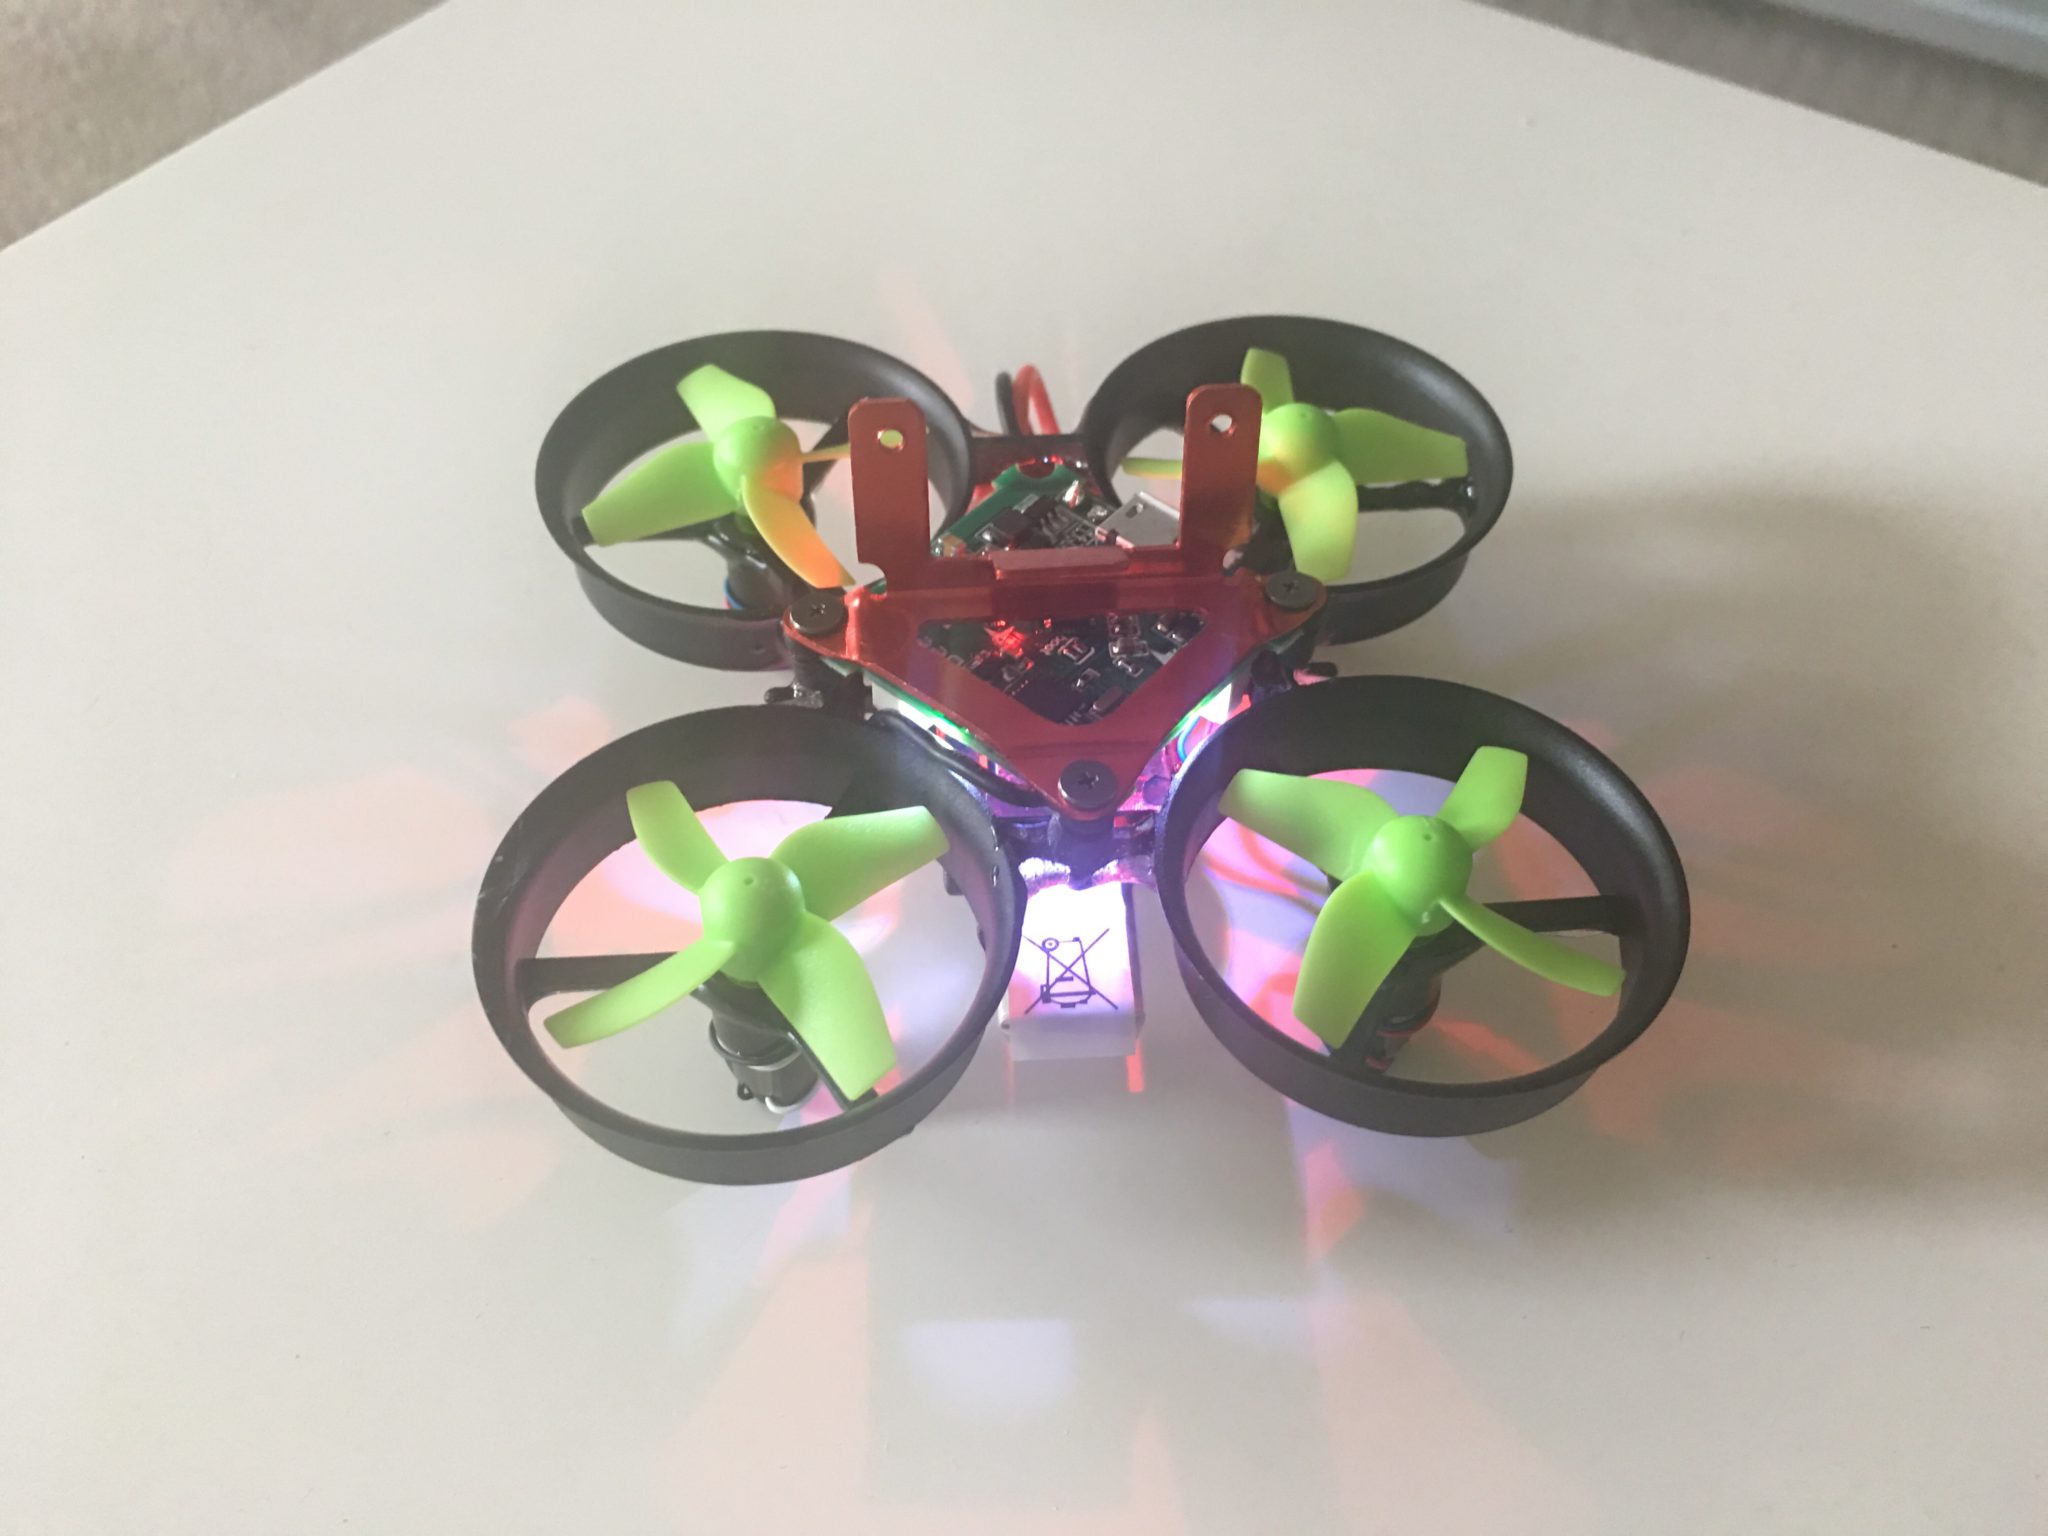
The red metal thing is the camera mount.
Next job is to mount the camera and solder to the power points that the pigtail is joined to.

Job done! Piece of cake in the scheme of making quads. Next job plug into your pc/mac flash betaflight, configure and fly. I’ll get a video up as soon as I’ve got my dvr sorted!
Time to get Whoop’in!